It’s not so hard as you can think. First of all you need in soldering iron (but you can use super-glue instead), solder, couple of markers or any other tubes with different diameter, pliers and that’s all.
Let’s start!
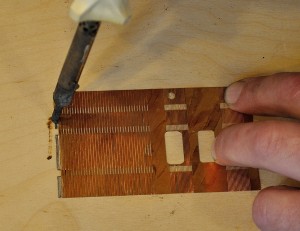
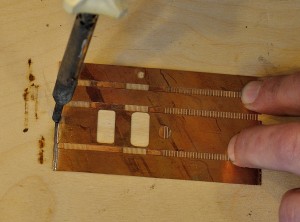
First of all you need to apply thin layer of solder on our future tank.
On one side….
And on another.
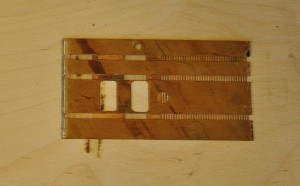
Ok, here is result.
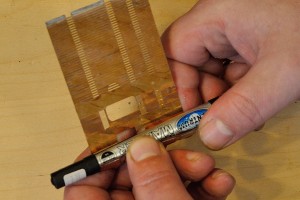
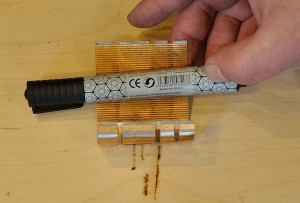
Now let’s bend our tank. I use marker for this step.
Place marker…
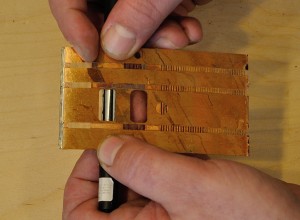 And start to bend tank carefully:
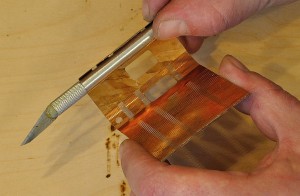
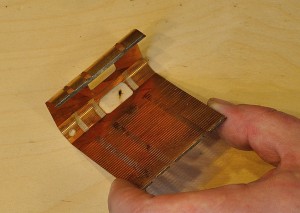 Now we need to use tube with smaller diameter. I use one of my knife for it:
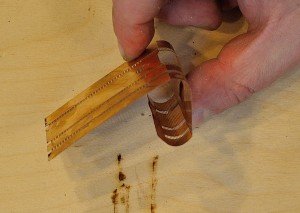 Of course it’s far away from desired shape, but don’t worry! Now we have to glue our steps inside (or skip this step if there are no any steps).
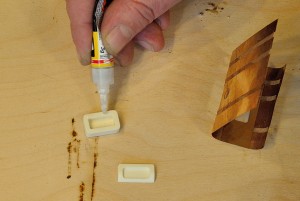 And carefully place first step in position inside our tank.
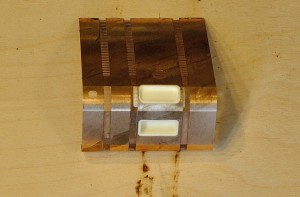 Ok, now we have to bend another side of our fuel tank. I use another bigger marker for this step:
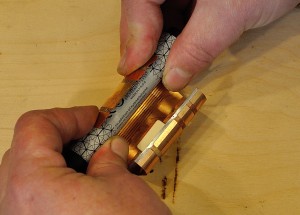 And here is result. It’s much closer to desired shape of tank:
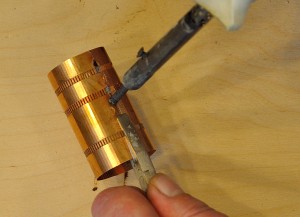
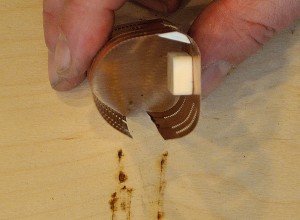 Ok, time to solder again! Use your pliers and soldering iron for the first dot of solder:
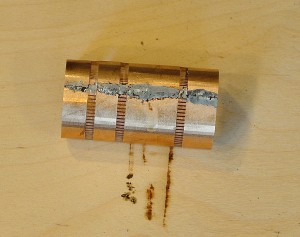
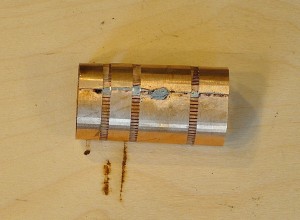 Let’s solder the rest of fuel tank:
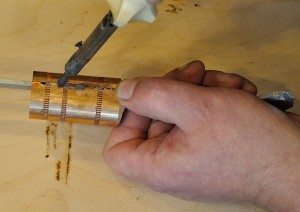 And here is result. All unnecessary solder can be removed later with sand paper.
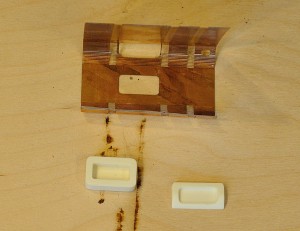
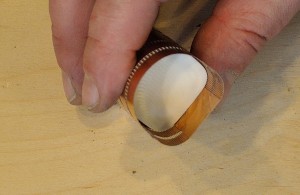
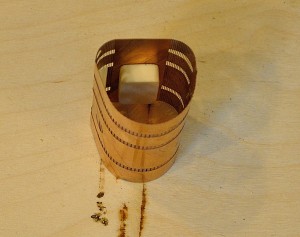 Now let’s place styrene inserts into our tank. You need to place 2-4 inserts depending on how many straps your tank has.
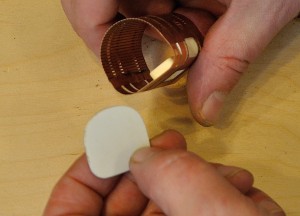 Carefully place inserts into tank and here is result:
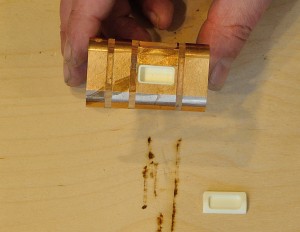
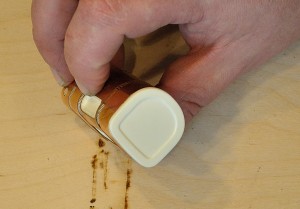
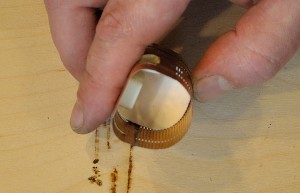 Now time for caps. Carefully place them on their places:
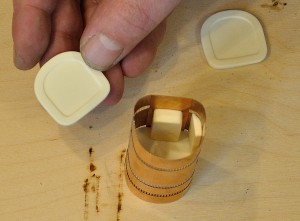 And our fuel tank is almost ready:
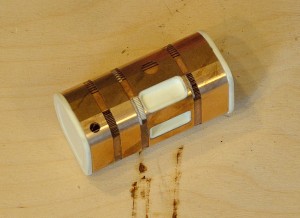 Now you need to finish fuel tank with sand paper and glue isolating tape for imitation of rubber straps.

 Gros camions
  Petits camions
  Pickup trucks
  Vans
Vans 
